
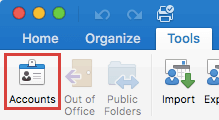
In Outlook, on the Tools tab, click Accounts
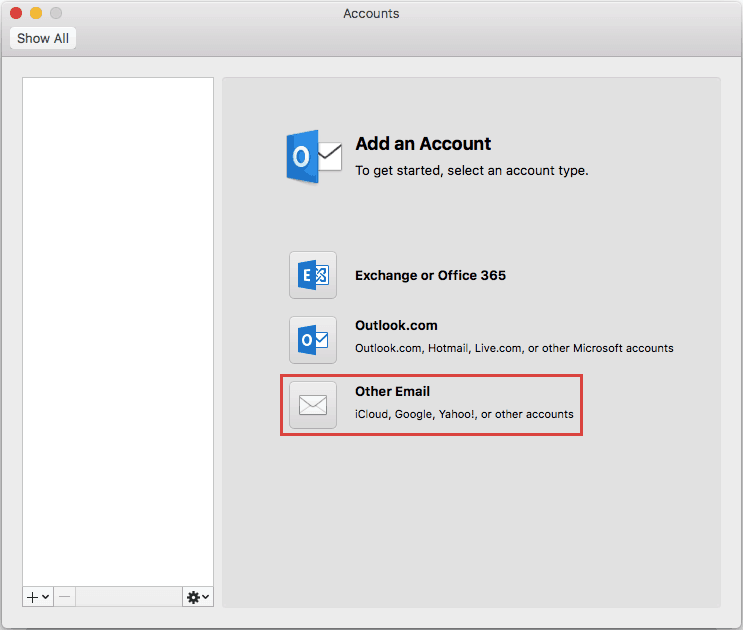
In the Accounts box, click Other Email.
When you are on the Enter your account information box, enter the following information.
Click Add Account.
When you have successfully added the email account, it will appear in the top left pane of the Accounts box. Outlook will also begin synchronizing your emails.
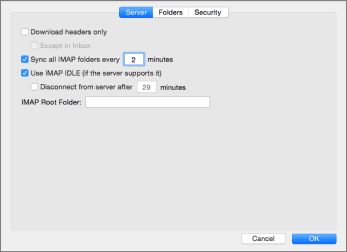
The IMAP accounts are synchronizing all mail folders between Outlook 2016 and the mail server. You can manage the sync frequency by clicking on the Advanced button. This will open the Server settings box, where you can change the Sync all IMAP folders period. By default, it is set to 2 minutes. Recommended 5 minutes. Also check Use IMAP IDLE.
For security reasons, our outgoing (SMTP) server requires authentication. By default, Outlook 2016-19 will automatically configure your outgoing server to use your incoming server credentials. In order to make sure that the outgoing server settings are properly configured, click the More Options button and verify that you are using the setting below: Authentication: Use Incoming Server Info.
You have finished setting up Outlook for OSX.